You fix wall cracks by prepping the area, widening cracks, applying the filler, smoothing it down, and painting or finishing it as needed. Such a process ensures that you complete the repair thoroughly. Proper preparation and quality materials are vital when fixing a cracked wall.
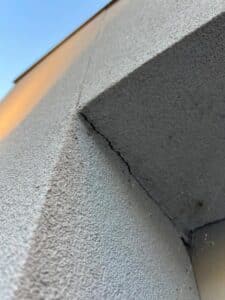
Before beginning any wall cracks repairs, it’s worth contacting a foundation contractor to ensure it’s nothing more severe.
For this post, we’ll expand more on the steps to fix wall cracks.
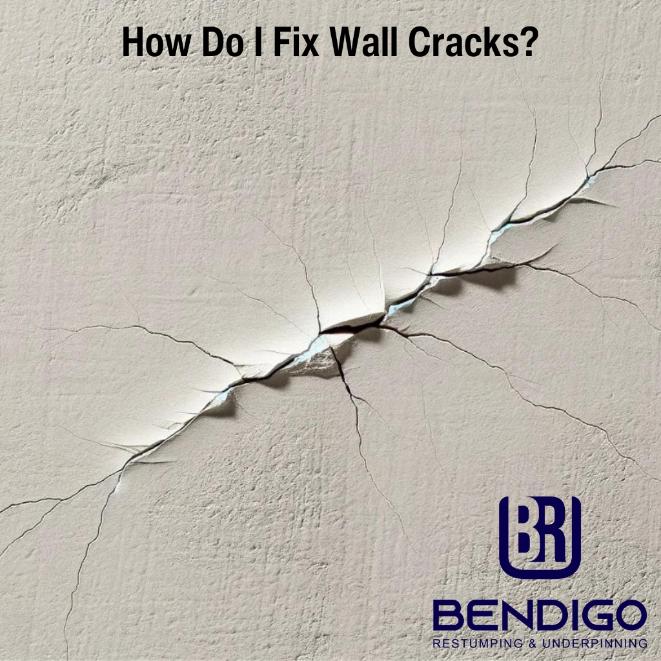
5 Steps to Fix Wall Cracks
The steps to fix wall cracks include preparing the area, widening the crack, applying filler, and smoothing and finishing as needed. Let’s take a closer look at each step below.
Step 1: Prepare the Area
Before repairing any wall cracks, preparing the area is crucial to ensure a clean and effective repair. Start by removing any loose material or debris from the crack and its surroundings. This can be done using a brush or a vacuum cleaner.
If the wall crack is a symptom of a bigger issue, like a sinking house, it’s advisable to address the underlying problem before proceeding with the repair.
Step 2: Widen the Crack
Widening the crack might seem counterintuitive, but it’s necessary for a lasting repair. Use a chisel and a hammer to slightly widen the crack, ensuring the filler material will have enough space to adhere properly.
This step is essential, particularly for larger cracks, as it creates a ‘key’ for the new filler. Be careful not to cause further damage to the wall.
Step 3: Apply Filler
Choosing the right filler is essential for repairing the crack effectively. For plaster walls, a plaster-based filler is ideal, while for drywall, a joint compound works best. Mix the filler according to the manufacturer’s instructions and apply it to the crack using a filling knife or spatula.
A builder for home repair will ensure the filler is pushed deep into the crack for a strong bond.
Step 4: Smooth the Filled Area
Once the filler has been applied, smoothing it out is the next step. Use a wet filling knife or spatula to smooth the filler, blending it into the surrounding wall. This step may require a bit of skill to ensure the wall surface is even, and the repair is not noticeable.
Allow the filler to dry completely, which may take several hours or as the filler manufacturer recommends.
Step 5: Paint or Finish as Needed
The final step in repairing wall cracks is to restore the wall’s aesthetic. Start by applying a primer over the filled area to ensure an even finish. Paint over the area with a colour that matches the rest of the wall once the primer is dry. If the wall has a specific texture, try to replicate it in the filled area for a seamless look.
This step not only covers the repair but also protects it, ensuring the longevity of your work.
Why Are My Walls Cracking?
Your walls may be exhibiting cracks due to the following factors:
- Shifting foundation: Natural settling or movement of the house’s foundation over time can lead to the emergence of cracks in the walls.
- Expansion and contraction: Variations in temperature can cause building materials to expand and contract, forming cracks.
- Moisture damage: Excessive moisture from internal sources like plumbing leaks or external sources such as rain can weaken walls or cause them to crack.
- Structural damage: Damage to the structure of the building, such as from an earthquake or substandard construction, can lead to wall cracks.
- Building age: Older buildings might develop cracks as materials age or due to long-term stress and wear.
What Happens If I Don’t Fix Wall Cracks?
Wall cracks will worsen over time if you don’t fix them. When this happens, you can expect more significant structural issues.
Furthermore, neglecting these cracks may lead to increased moisture, which can cause mould that further damages your home.